How to Remove an Alternator From a 1995 Ford F150?
If you’re having electrical problems or facing issues with your 1995 Ford F150 it’s time to remove and possibly replace the alternator. This guide will walk you through the step by step process of how to remove an alternator from a 1995 Ford F150 so you can do it safely and efficiently.

Taking care of your vehicle is important and doing DIY projects like removing an alternator can be super rewarding. By following our instructions you’ll not only gain mechanical knowledge but also confidence in your 1995 Ford F150’s problems.
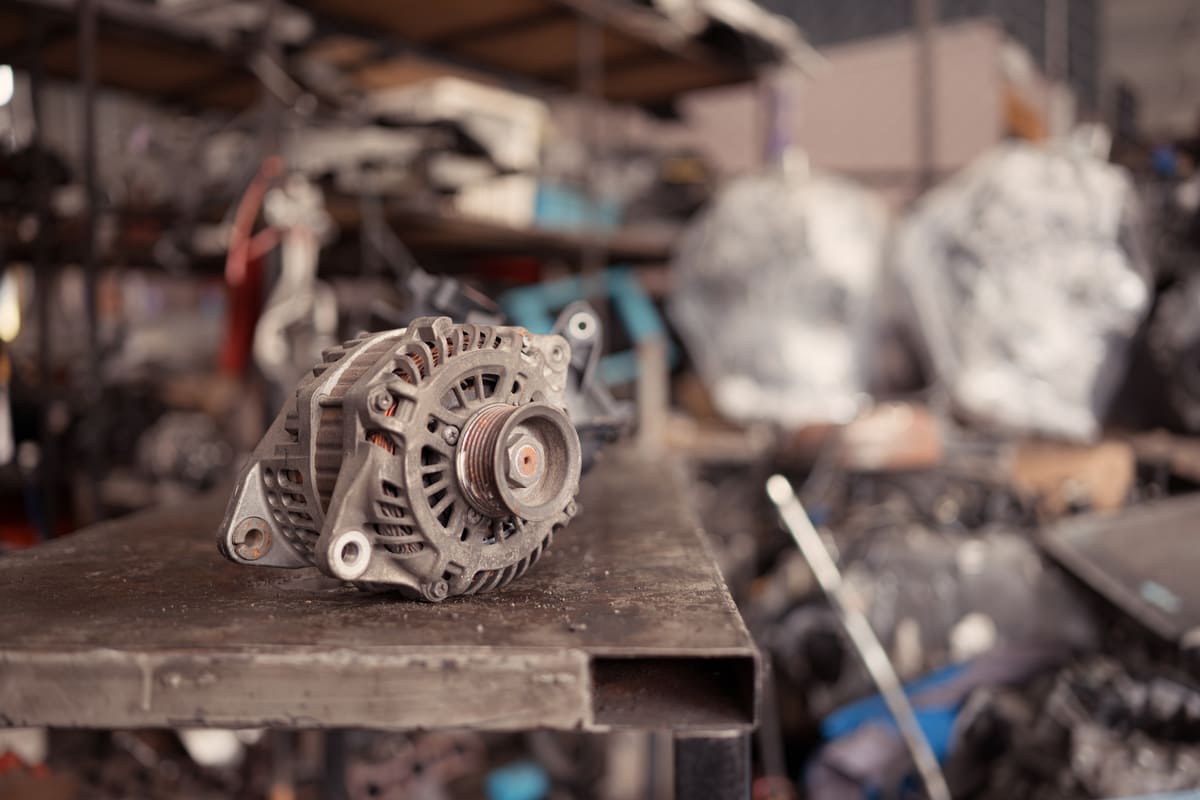
What is an Alternator in the Ford F150?
The alternator is a vital part of your vehicle. It powers your vehicle’s electrical system. When the engine runs the alternator charges the battery and keeps the electrical components running. This includes lights, radio and other features.
In simple terms the alternator converts the engine’s mechanical energy into electrical energy. It does this with a belt connected to the . As the engine runs it spins the alternator and generates electricity.
Without a working alternator your truck would run solely on the battery. The battery would drain quickly and your truck may not start or run properly. The alternator keeps the battery charged and the truck running smooth.
In the F150 the alternator is built to handle the power requirements of the truck. It’s designed to power all the gadgets and systems. So it’s an important part of the vehicle’s performance and reliability.
When Should You Remove/Replace the Alternator from your 1995 Ford F150?
Knowing when to remove or replace the alternator in your Ford F150 is important. Here are some signs that might indicate it’s time for a change:
- Dim Lights: If your headlights or lights get dimmer the alternator isn’t charging the battery.
- Battery Warning Light: A warning light on your dashboard means alternator trouble.
- Weird Noises: If you hear grinding or whining sounds from the engine the alternator bearings are worn out.
- Dead Battery: If your battery dies even after charging the alternator isn’t doing its job.
- Electrical Problems: Flickering lights or malfunctioning accessories can also mean alternator issues.
- Won’t Start: If your truck won’t start it might be because the alternator isn’t charging the battery enough.
If you see these signs it’s time to check or replace the alternator. Doing this will keep your truck running smooth and prevent bigger problems.
What Tools are Needed for Removal of Alternator?
To remove the alternator from your 1995 Ford F150 you’ll need some basic tools. Having the right tools makes the job easier and safer.
- Socket Set: A set of sockets, 10mm and 13mm will help loosen and remove bolts.
- Wrench Set: Open-end and box-end wrenches for various nuts and bolts.
- Ratchet and Extensions: A ratchet with extensions for bolts in tight spaces.
- Screwdriver: Flathead or Phillips screwdriver for clips and connectors.
- Belt Tensioner Tool: This tool releases tension from the serpentine belt so you can remove it.
- Pliers: Needle-nose pliers for gripping and pulling small parts.
- Safety Gear: Gloves and safety glasses for your hands and eyes.
Gather these tools before starting, and you’ll be ready to tackle the alternator removal efficiently.
What are the Steps to Remove an Alternator from a 1995 Ford F150?
Removing the alternator from your 1995 Ford F150 involves a few clear steps. Follow these instructions to get it done right.
Step 1: Preparation
- Park the Vehicle: Make sure your F150 is on a level surface and the engine is cold before you start.
- Disconnect the Battery: Using an 8mm socket loosen the nut on the negative battery terminal and remove the cable. Set it aside so it won’t touch anything.
Step 2: Remove the Serpentine Belt
- Locate the Belt Tensioner: Find the tensioner pulley and use a serpentine belt tool or breaker bar to relieve the tension.
- Remove the Belt: Once the tension is relieved, slide the belt off the alternator pulley. Note the belt routing or take a picture to ensure correct reinstallation.
Step 3: Disconnect Alternator Wires
- Unplug Electrical Connectors: Press the release tab on the back of the alternator to unplug the electrical plug.
- Remove the Output Wire: Use a 10mm socket to remove the nut on the output wire. Move the wire aside carefully.
Step 4: Unbolt the Alternator
- Find the Mounting Bolts: There are usually 2 bolts holding the alternator to the engine bracket.
- Remove Bolts: Use a 15mm socket to remove these bolts. Hold the alternator with your hand as you remove the last bolt so it doesn’t fall.
Step 5: Remove the Alternator
- Take Out the Alternator: Lift the alternator out of the engine bay. You may need to move it slightly to clear surrounding parts.
Step 6: Inspect and Troubleshoot
- Inspect the Alternator: Look for any visible damage or wear. If replacing, compare the new alternator to the old one to make sure they are compatible.
- Troubleshoot: If you see any issues like frayed wires or damaged connectors, address those before installing a new alternator.
By following these steps you can easily know how to remove an alternator from a 1995 Ford F150. Remember to keep track of all parts and tools for reinstallation.

What are the Safety Precautions You Need to Keep in Mind?
When working on your 1995 Ford F150 alternator, staying safe is most important. Here are some important safety tips to remember:
- Disconnect the Battery: Always disconnect the negative battery cable first. No electrical shocks or shorts.
- Wear Safety Gear: Gloves to protect your hands and safety glasses to protect your eyes from debris.
- Work on a Cool Engine: Let the engine cool down before you start. Hot parts can burn you.
- Use Proper Tools: Make sure you have the correct tools for the job. Using the wrong tools will cause accidents or damage.
- Keep the Area Clean and Organized: A clean workspace will prevent you from tripping or losing parts.
- Follow Instructions: Follow each step in your guide carefully. Skipping steps will cause mistakes or injury.
By keeping these precautions in mind, you can ensure a safe and successful alternator repair on your Ford F150.
Some Additional Tips:
When removing an alternator, a few extra tips can make the process smoother:
- Label the Wires: Before unplugging wires, label them so you remember where they go. This will help during reinstallation.
- Take Pictures: Take pictures of the alternator and surrounding parts before removal. Pictures will be a reference later.
- Keep Parts Together: Use a small container or bag to keep bolts and small parts in. This will prevent you from losing any parts.
- Be Patient: Take your time with each step. Hurrying will cause mistakes or missing parts.
- Check Your Manual: Refer to your vehicle’s manual for any specific instructions or diagrams for your model.
These tips can help ensure a successful and less stressful process of how to remove an alternator from a 1995 Ford F150.
End Note:-
Removing the alternator from your 1995 Ford F150 is a big job but by following these steps you’ll find it doable and fun. Use the right tools and safety precautions and it will be smooth.
Remember to label wires and take pictures so reassembly will be easier. By completing this repair you’ll have a better-performing truck and more confidence in future DIY’s. With patience and attention to detail, you’ll have your F150 running again in no time.


